I recently ordered the Right Behind You stamps and couldn’t wait to get them inked. When I first sat down to create with them last week, I was designing for a colour challenge and thought that I would create some extra projects using that same colour combination.
The main cycle/tandem image is super cute, so fun for creating cards for the younger generation but of course, would suit lots of occasions, I mean, we all love a bit of cuteness!
As I was inking the cycle image, I had an idea that I might be able to cut it down to seat one character, and to my delight it worked!
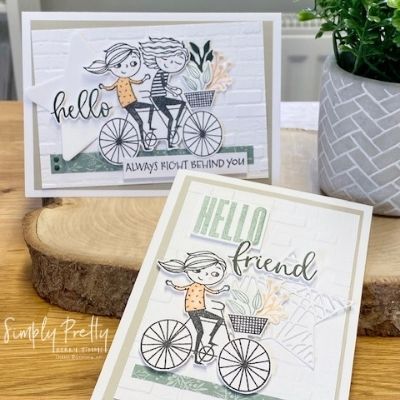
For my cards I used a colour combination of Evening Evergreen | Soft Succulent | Pale Papaya | Sahara Sand. I used Memento Black Ink to stamp the cycle images. I also used my Stampin’ Blends markers in Pale Papaya and Soft Succulent to colour in the shirt on one of the characters.
The Right Behind You stamp set is pictured below, it’s just £20 and includes some great greetings along with the little pooch and bunch of flowers to add into the basket of the bike!

The first card I created was this one, using the large cycle image from the set. As I was creating for a Facebook Live I kept colouring to a minimal. In fact on this card, I showed how to “paper piece” for the girl’s shirt, stamping into Memento Black ink onto Pale Papaya cardstock, fussy cutting it out and sticking over the top of the main image. This technique is great if you maybe don’t have a particular colour of Stampin’ Blends and you could even stamp onto a patterned paper for a different effect.
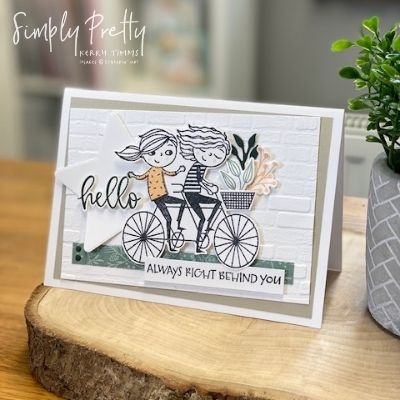
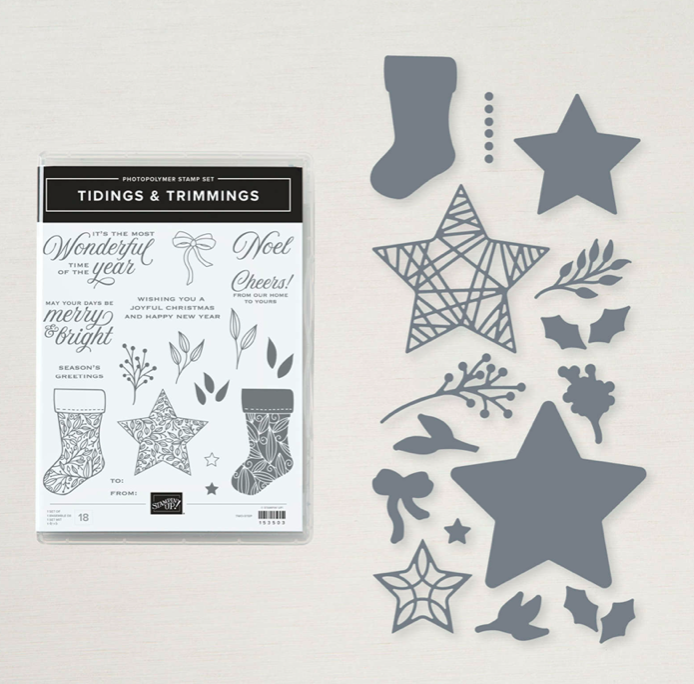
I’ve been using the Tidings & Trimmings stamps this month, sharing ways to use it without creating for Christmas (the time will soon come for that!) From this set I inked up a couple of the foliage images and popped them into the basket. I also die cut some foliage from the co-ordinating die set Christmas Trimmings and used the large Star die for the “hello” greeting to sit on. The two little “dots” on the bottom left are also from this same die set.
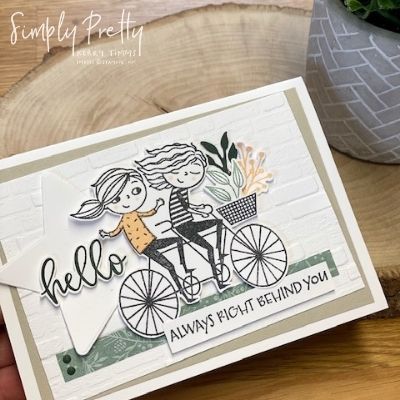
As I was creating I had a light bulb moment and decided to “chop” into the cycle image and try to create one character sitting on it and I was so pleased that it worked out nicely for both of them!
I’ve also used the Biggest Wish stamps which I absolutely adore, they are a great addition to any greeting collection and I find myself pulling them out to use regularly. I stuck with the same foliage images from the Right Behind You set to keep things simple for the live but this time added in the more intricate Star die from the Christmas Tidings dies. Definitely nothing Christmassy going on here, don’t you agree!
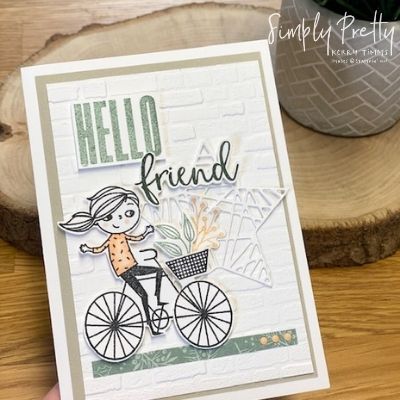
The Brick & Mortar Embossing Folder is a new one I recently purchased and I’ve had so much use from it already! It works great with these cards but definitely a good allrounder I would say.
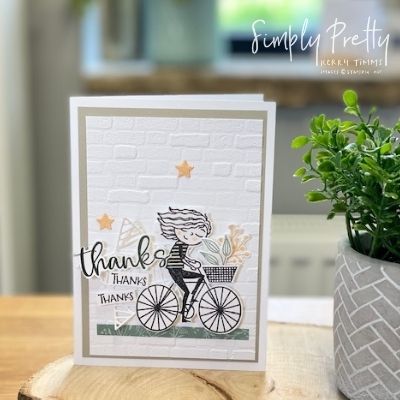
The third card is again similar as for all three cards I’ve used the exact same layers of cardstock, but this time the second Character is the star of the show…..
My image is a little light but I used my Stampin’ Blends to colour in the stripes on the shirt and added some mini die cut stars to the white space. These are from the Christmas Tidings die set.
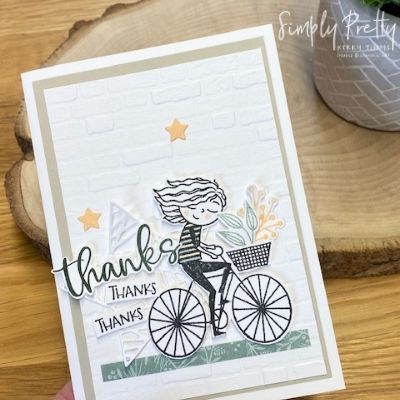
The small “thanks” greetings were chopped down from a larger one in the Right Behind You set and placed over that intricate star die cut.
Well I hope you’ve enjoyed today’s projects, I had so much fun creating them Live over on my Facebook Page so if you’d like to watch the replay, head right over to take a look or click on the YouTube link below….
You can purchase any of the products I’ve used via my Online Shop, click on a product image below to be re-directed.
Product ListThank you so much for stopping by, hope to see you back here very soon!


Leave a Reply