I don’t know about you, but I LOVE to create things that I can give to people. I enjoy buying small gifts and treats and working out how to create packaging for them. I understand that this isn’t something we are all comfortable in doing, so that’s why I have been filming tutorials so that I can show you how!
I really enjoy the process of giving something that I have created, something you have thought about and taken the time to put together with your own hands. This “something” can be as simple as a bar of chocolate or a packet of sweet treats, buuutttt, they way you present it goes a long way and the recipient knows that you have taken the time to do this for them.
If you’re creating some packaging, of course that’s shouting out to create a matching card too and we all know how lovely it is to receive a hand made card.
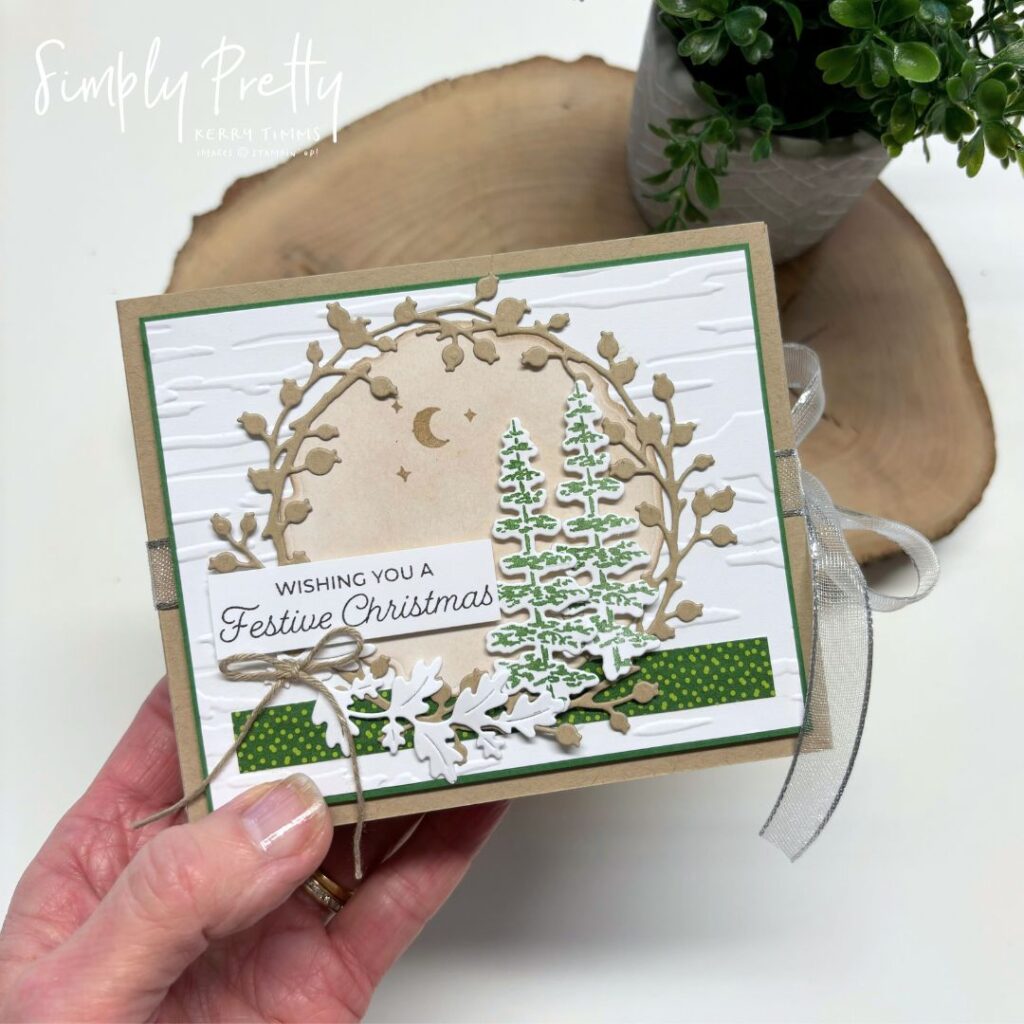
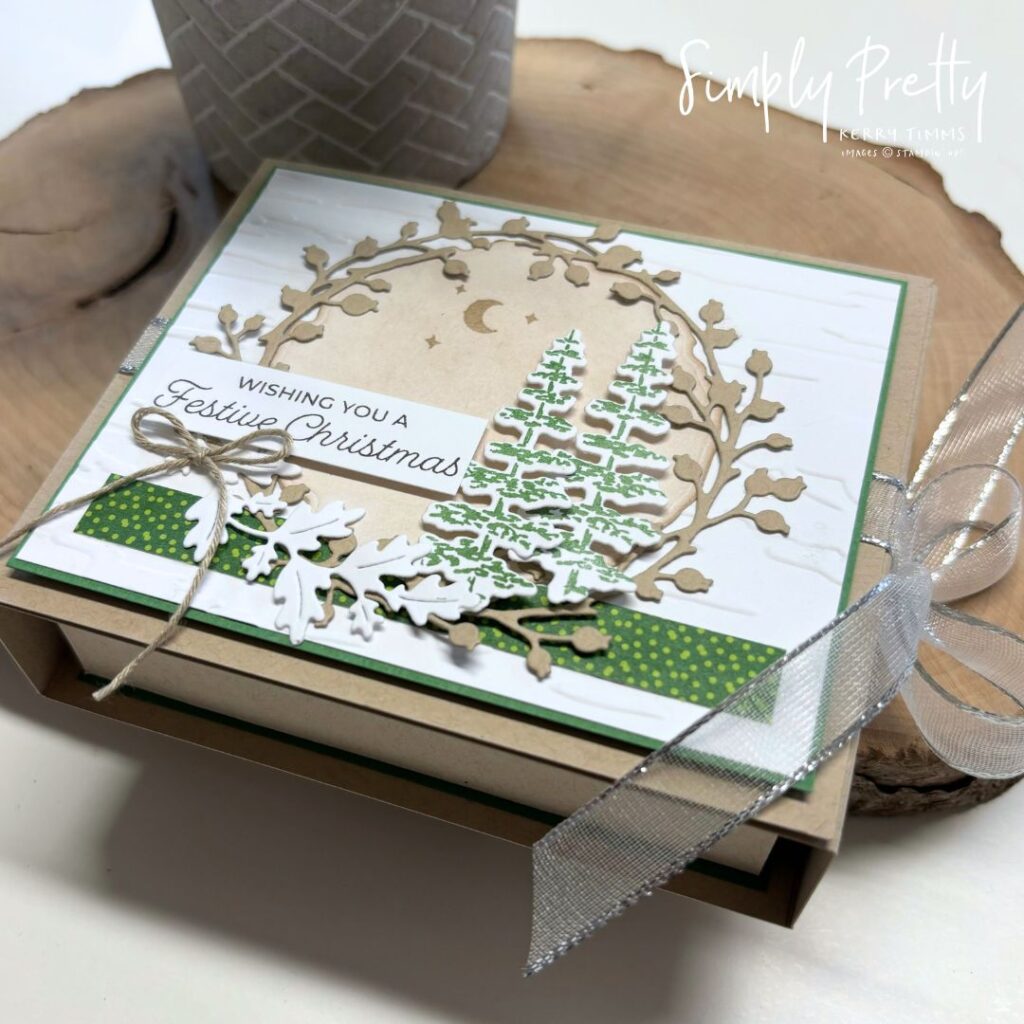
So here’s one of my packaging ideas, it folds out and reveals an inner pocket that would house a gift card with a small treat. My package holds a coffee bag and some biscuits and I absolutely love it. It feels like it has a lot of substance with all the layers making it feel like a substantial gift to give.

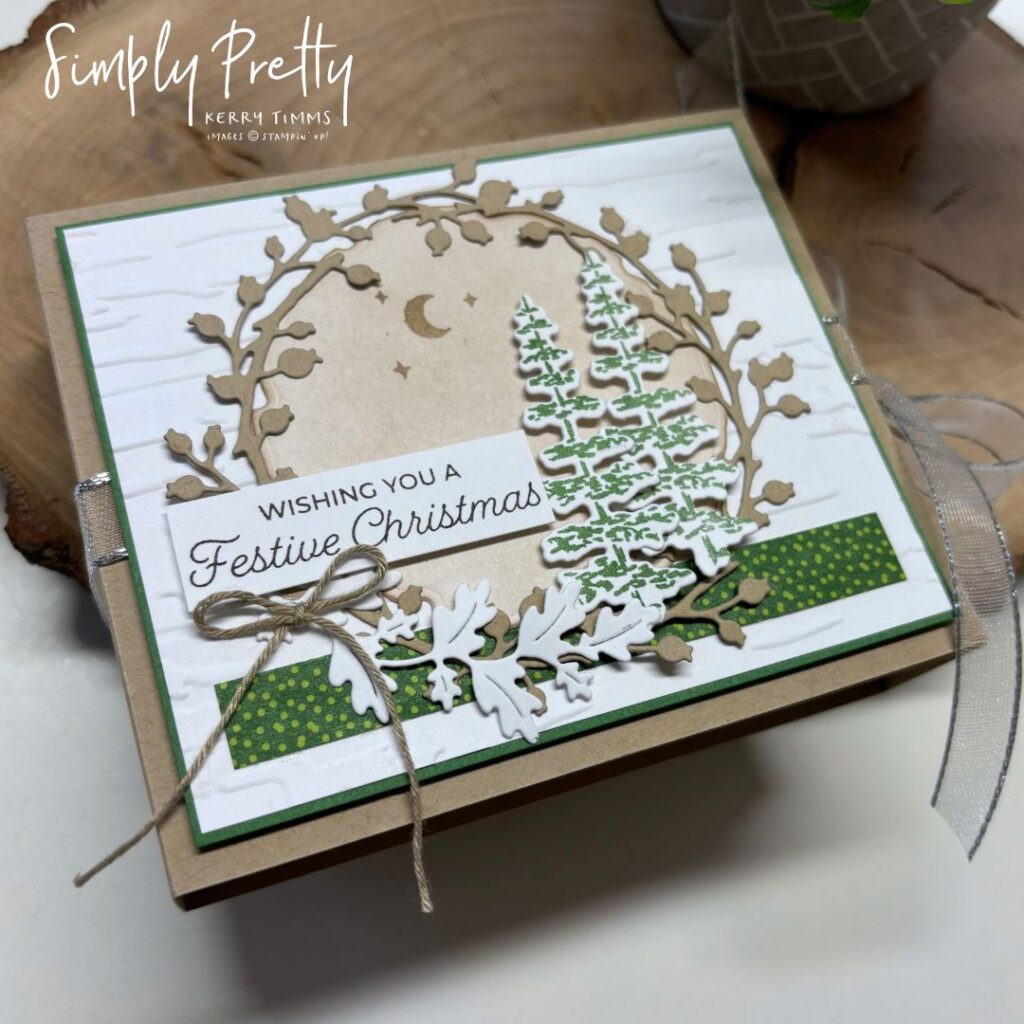
I’ve use the Encircled in Nature bundle (stamps and dies) with a pretty neutral colour palette suitable for Christmas. It could definitely be replicated in any colour combination you choose and my design can be used time and time again for any theme or occasion. Within the PDF, alongside the videos, you will find all the measurements to cut and score.
With my October Online Class, I created three cards plus TWO packaging ideas that can be replicated over and over, in different colours and with a theme to suit. My Class includes a separate video for each project (5 in total) along with a PDF giving you all the measurements you need so that you can prepare your kits ahead of time.
For those who live locally and come to events at the Studio, there is the option to pick this Class and create along with me here.

My colour combination is Crumb Cake, Garden Green with some Early Espresso for my greetings. I used a Blending Brush to create the “sky” background in Crumb Cake Ink, then stamped the moon and stars image over the top in the same colour.
I love the die cut wreath, it works for all different occasions and the oak leaf foliage is lovely. Both of these die cut pieces would work so well on masculine projects.

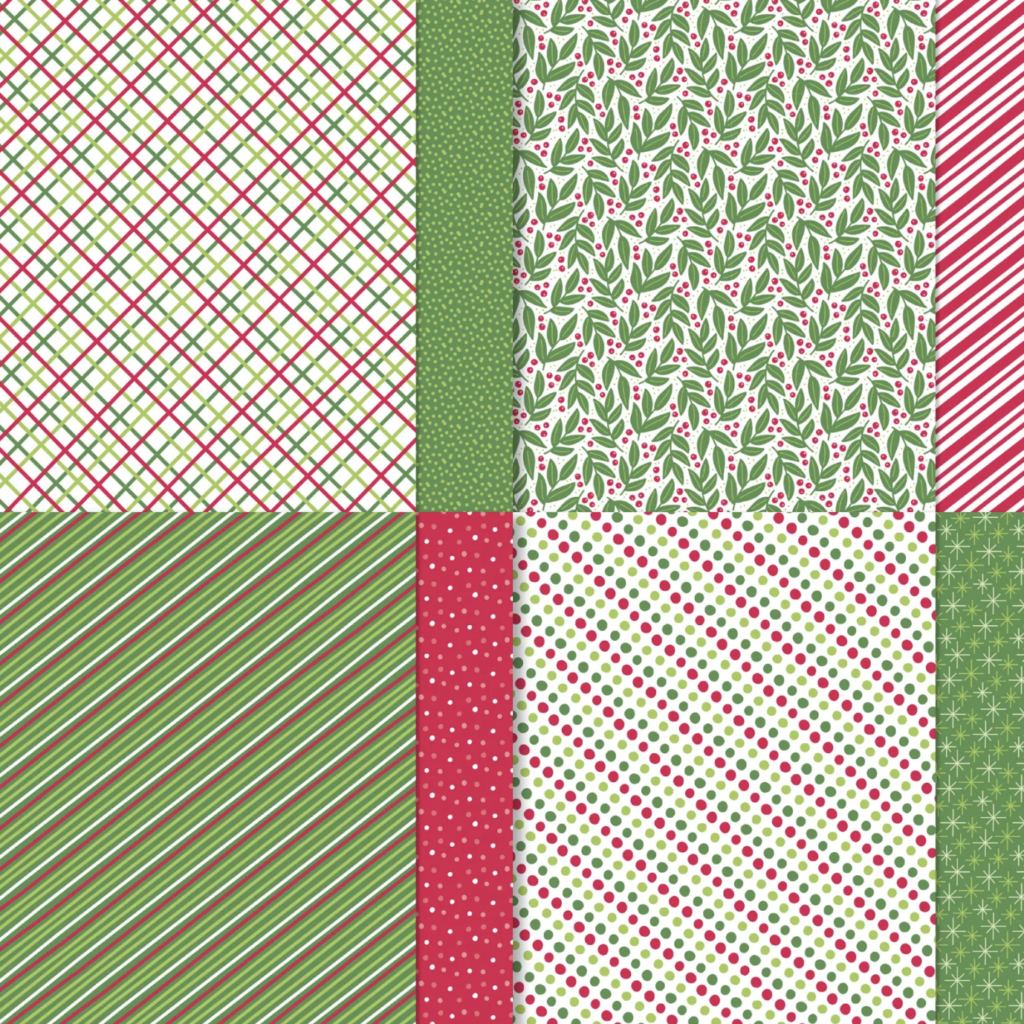
I’ve used some of our Christmas papers, these are from the Mini Catalogue and are called “Take a Bow”, presented in 6 x 6″ pieces with 48 sheets per pack. I love all the designs in this set and the colours are quite traditional.
For my embossed layer I used the Birch Wood folder, it’s one of the larger style ones and although it’s in our seasonal mini catalogue it’s most definitely an all year round product. Again, perfect for masculine projects.

I will most definitely be repeating this project in other designs and if you purchase the Tutorial I would love to see how you adapt it in your own way!
If you’d like to purchase the PDF, click the button below……… when you submit your order you will receive an instant download to the PDF. The videos are embedded within the PDF.
I will be back very soon with the final project from this class, but in the meantime, if you have any questions regarding my Tutorials please get in touch.

Leave a Reply