Do you like to create packaging for your gifts? Personally I think there’s nothing nicer than packing small gifts to co-ordinate with a card that you’ve hand stamped and created yourself.
My favourite thing to do is buy sweet treats then make custom packaging to fit, always up for this kind of creative challenge!
This month, I created a box that would hold a tube of hand cream or small shower gel, but equally as nice with the addition of small chocolates that could be placed inside.
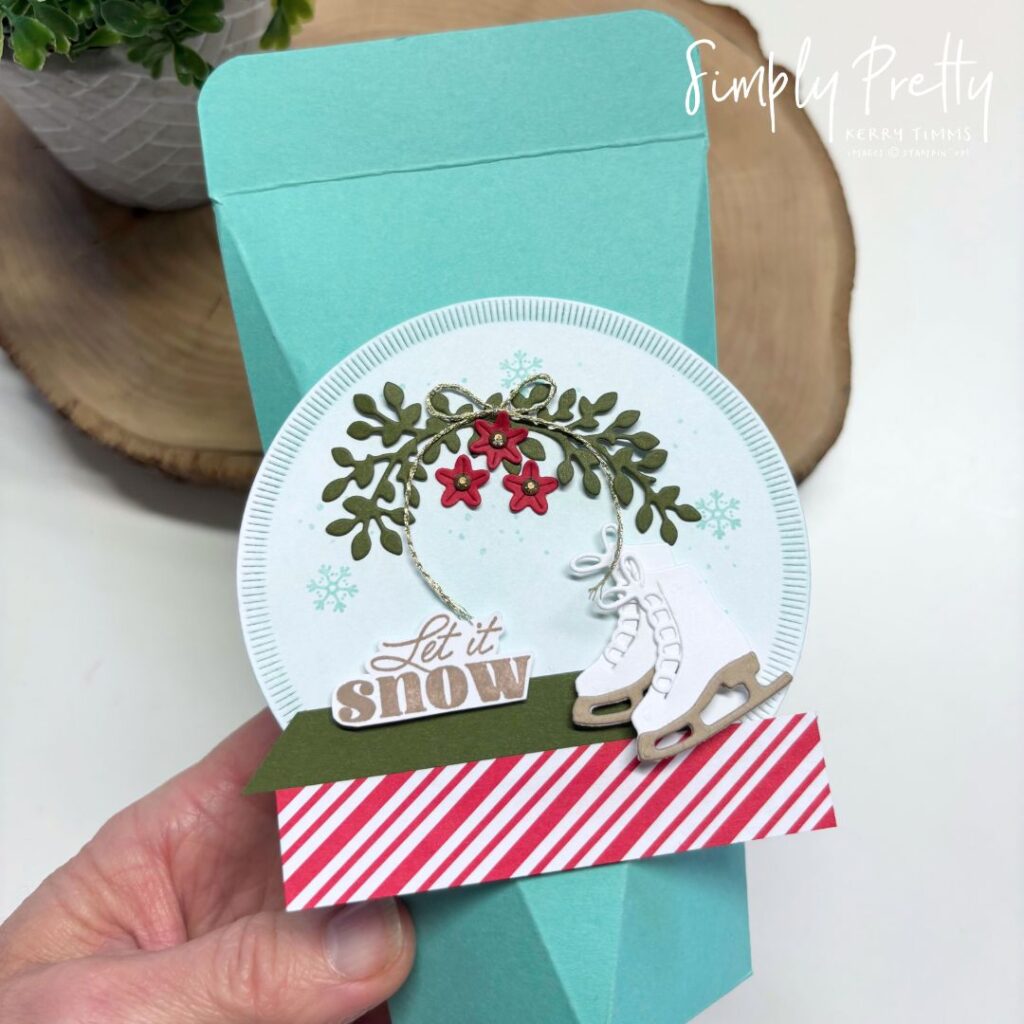
This Online Class for December 2024 features this box, a card, a fun fold card along with a package to keep the card safe inside. As usual, all projects in the Class co-ordinate with each other. Usually when I create a card I like the addition of some packaging, and even if I’m creating a “card only” class, I usually create an “add on” event that includes packaging to match, it’s just how I like to do things!
Back to our box…..
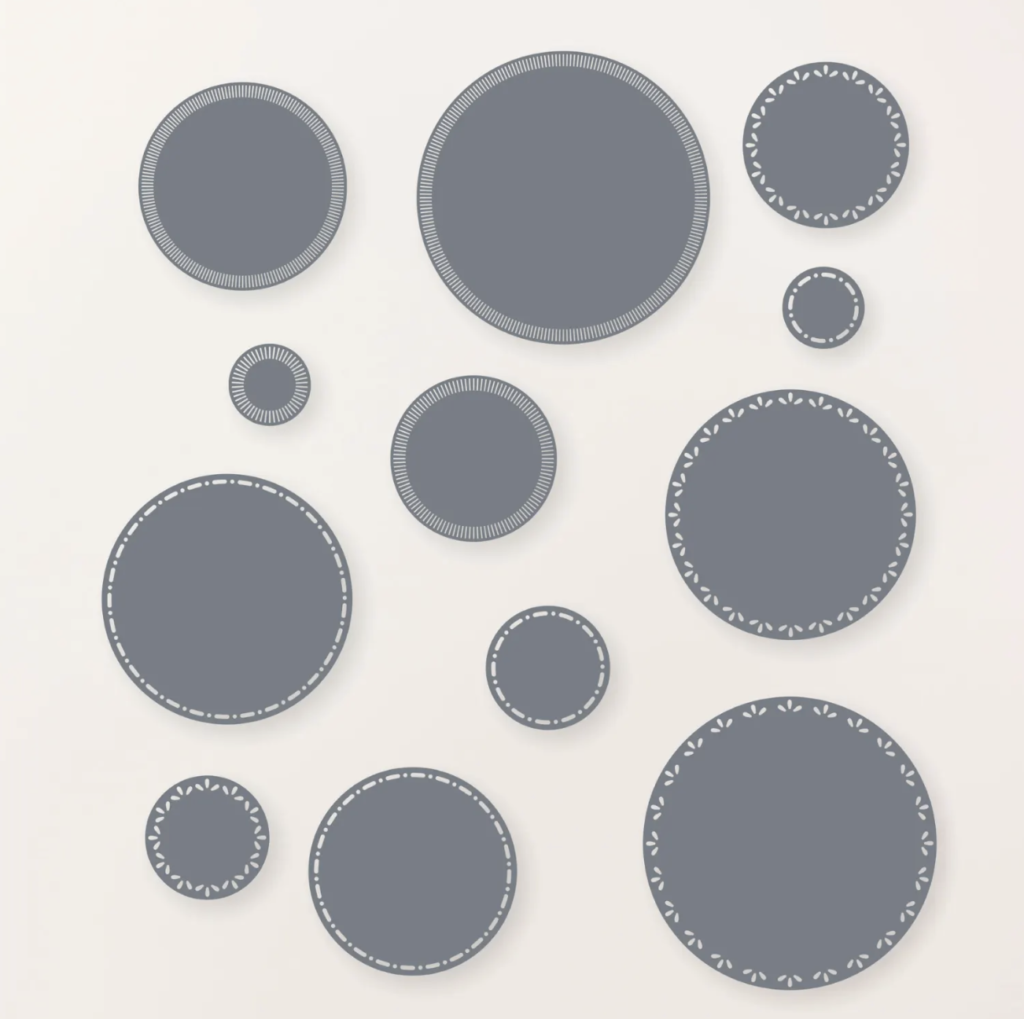
The Spotlight on Nature die set includes the most beautiful circle dies in different shapes and designs. I use them so much and they are definitely a staple that I pull out often. They worked perfect for my projects allowing me to have a base for my Skates and the Car, with space to add a snowy sky background.
The Sophisticated Sled dies have some great elements, I particularly love the bough/foliage die, a great all rounder and most definitely not just for your Christmas projects. You may have seen me use this set for some general female birthday projects a couple of month’s ago, I will add a link to a video showing how you can use it for more than just Christmas.
The base of my box is square and the top is self closing, really simple scoring and all using just one sheet of cardstock! I’ve been calling this a Triangle box as the diagonal lines you score into it create a triangle section on the front, I’ve no idea what its official name is though!
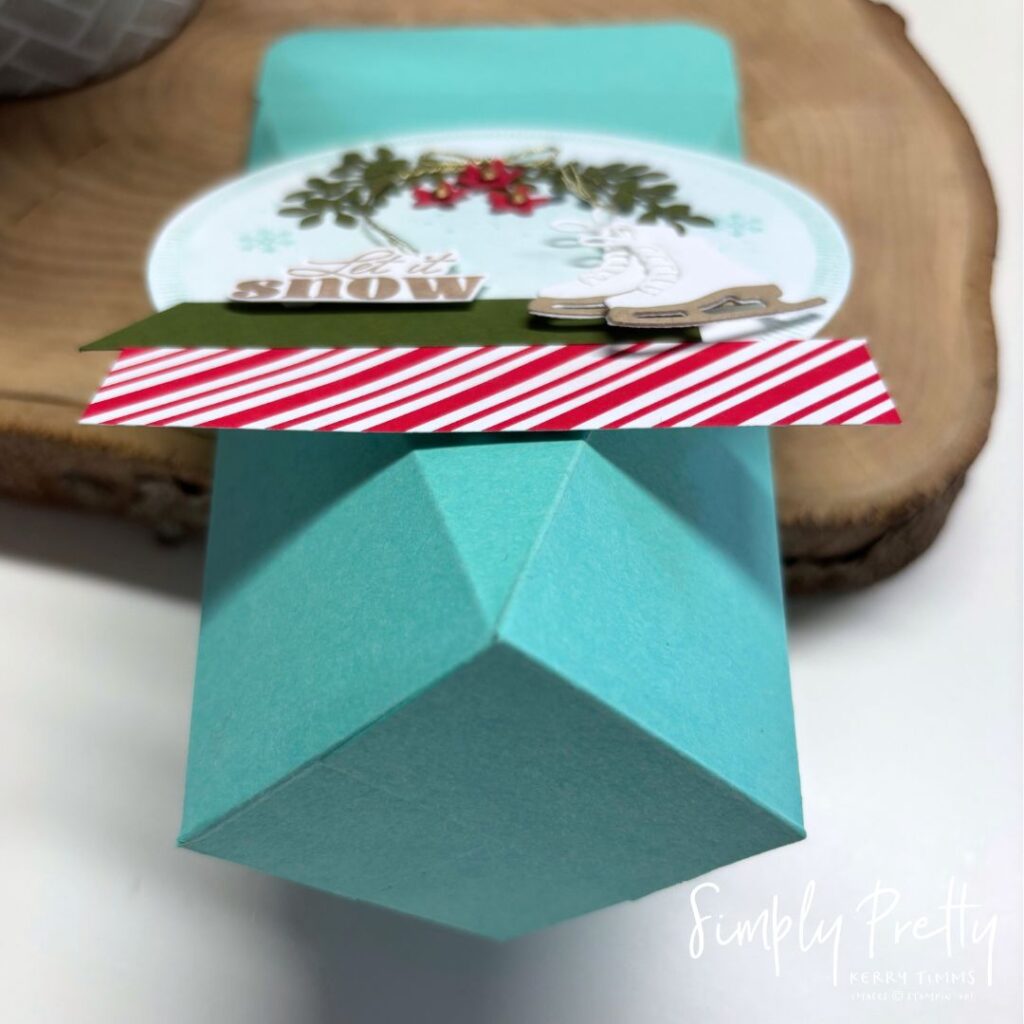
I used some of the sweet flower dies from the Classic Wedding set, using Real Red cardstock to mimic Poinsettia, adding rhinestones coloured with a gold sharpie pen for the centres.
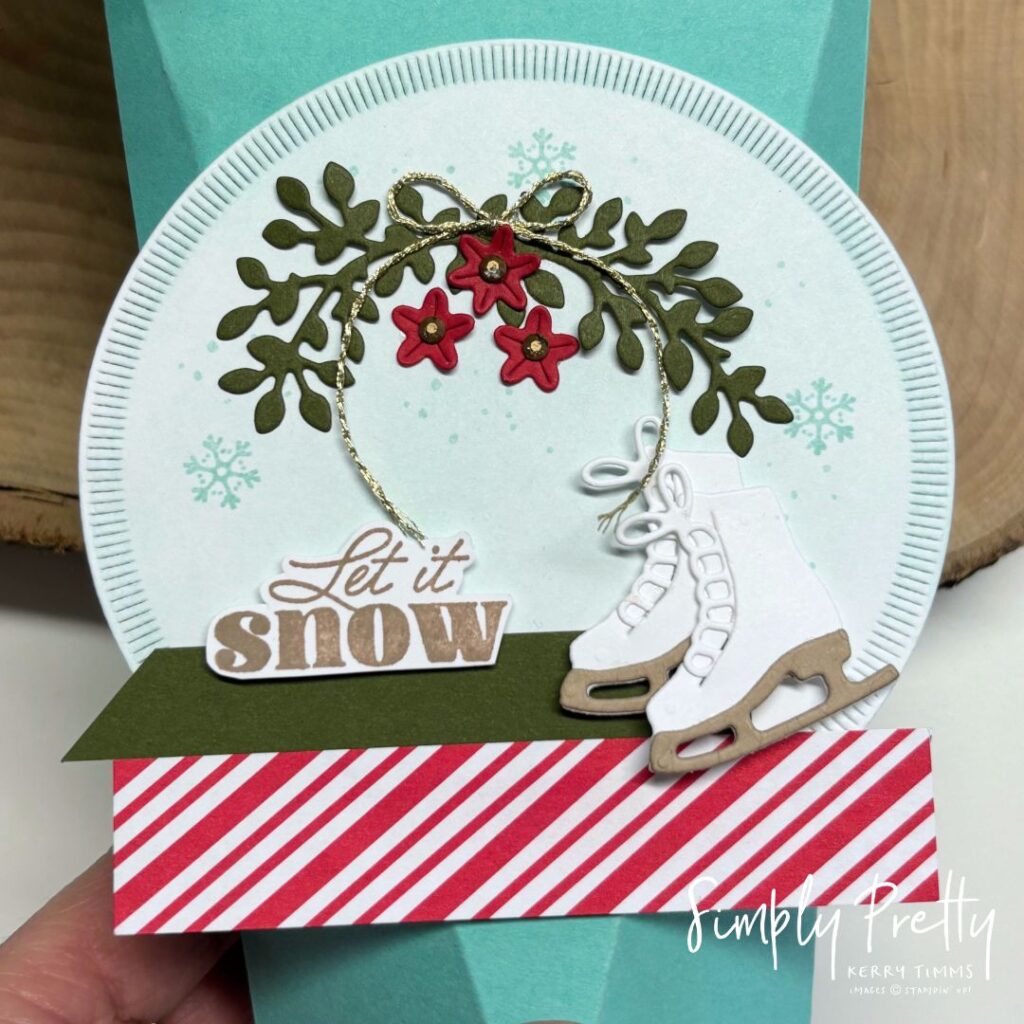
The “Let it Snow” greeting is from the Snowy Wonder set, adore this mix of fonts. The sweet snowflakes and snow on the ink blended circle are also from the same set.
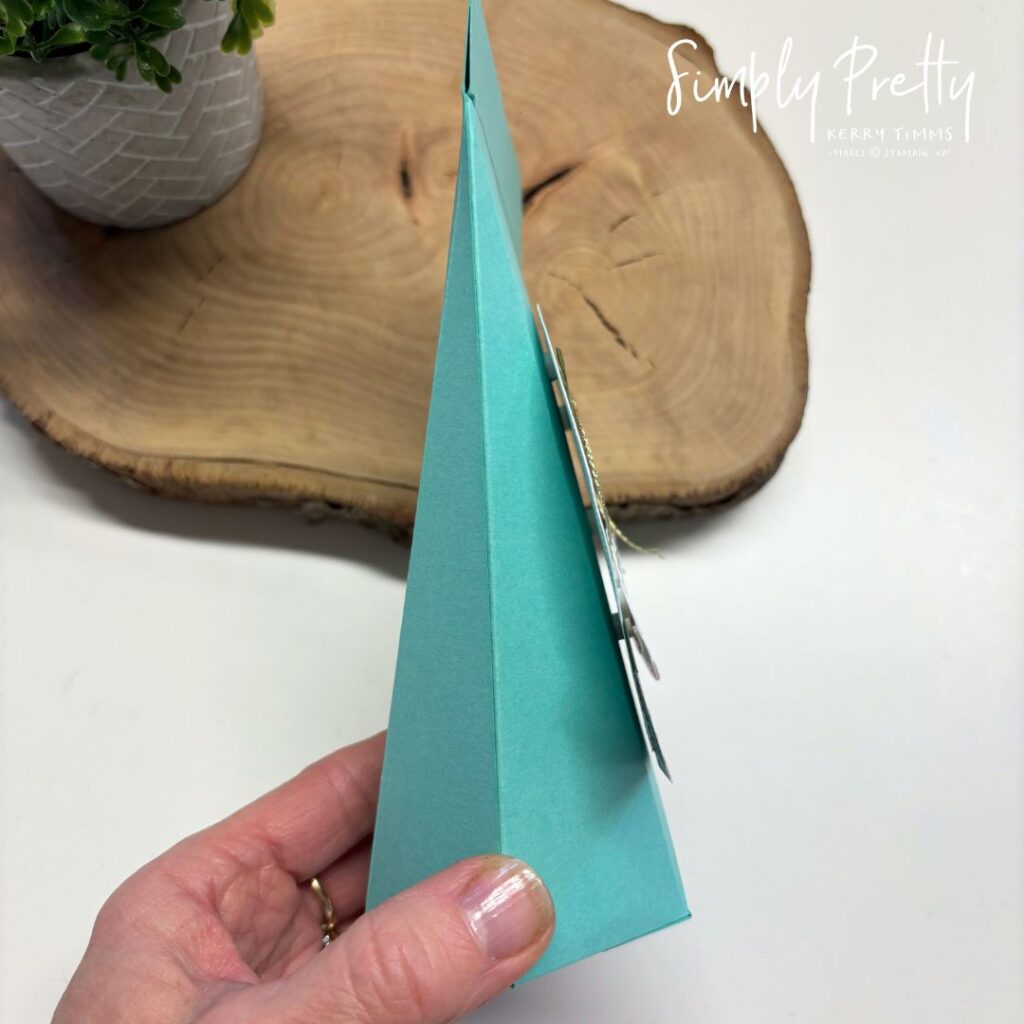
Here’s a side view of the box, it’s pretty sturdy and is really easy to put together. You could use patterned paper for the base or stamp images onto the cardstock before scoring and assembling.
Here’s a closer look at the front panel decor, love the addition of the Gold Twisted Thread bow, it’s so pretty and delicate at the same time. You can create a soft background using our blending brushes, I inked this one in Pool Party to match the cardstock base of the box.
Let’s not forget that DSP (Designer Series Paper), it’s called Take a Bow and can be found in the Mini Catalogue, a stunning pack of 48 sheets of 6×6 double sided papers.
If you’d like to re-create any of the four projects, head over to my Tutorial Page and purchase the PDF. Included are all the measurements for each project along with a video showing you step by step how they are created.
There’s a link via the button below where you can see the full information about this Online Class….
If you’d like to see more projects created using the Sophisticated Sled which are non-Christmas, watch the video below for a little inspiration…..
Don’t forget that there’s still time to place your orders for our LAST CHANCE list, there are some great products with big discounts on, I’ll pop a link below to view them….
Thank you for stopping by, I will be back soon with the other projects from this Class.
Leave a Reply