You will hear me say it until the cows come home, but I LOVE to create packaging for gifts, sweet treats and simple ways of showing my appreciation. It can often be tricky buying actual gifts for some friends and family as they “have everything”, so sometimes we have to resort to giving money or a gift card.
With the festive season soon approaching, I had this in mind with today’s project. I always think it’s nice to “package” a gift card rather than just giving it as it comes or popping it inside the card you give. This way I feel it shows that you have given it some thought and a little love has gone into it.
So here’s my Yuletide Village gift card holder…..

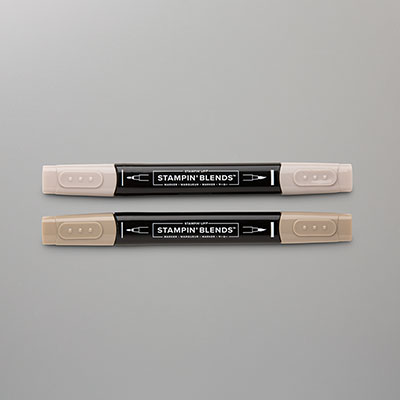
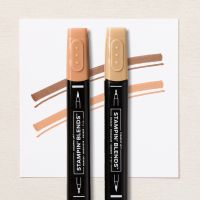
Since this Stamp set “Yuletide Village” landed in my Studio, I have created so many projects with it. I love the possibilities of creating snowy scenes with these beautifully drawn images and the fact that I can pull out my Stampin’ Blends pens and sit quietly and colour them in!
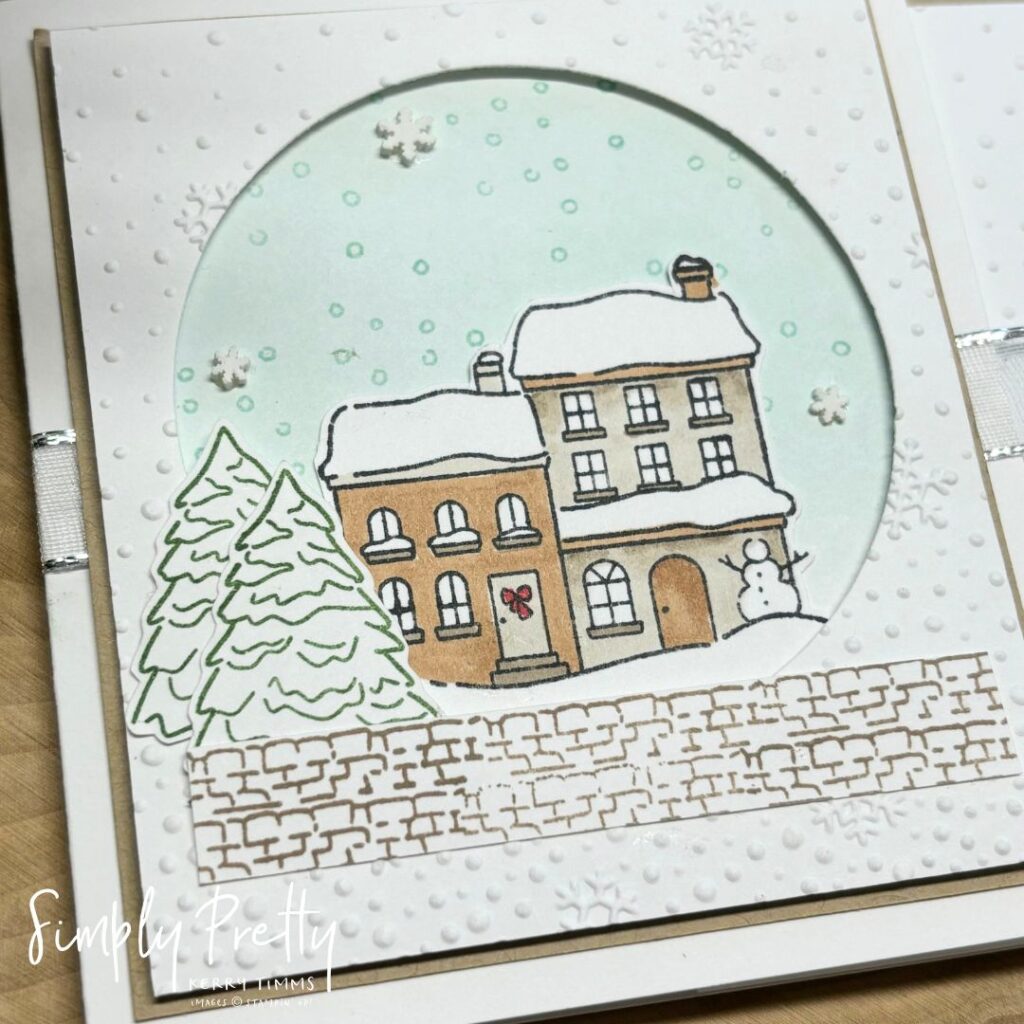
The combination of adding the pool party blended sky with the crisp white embossing folder “snowfall sky” is just lovely. Lots of white space which is typical of my style, neutral all the way for me ha ha!
Did you notice this ribbon? Oh how beautiful it is in real life, and the way it ties a bow, perfection! The “Silver & White Sheer Ribbon” comes on a spool with 9.1m of loveliness included for £8.50, worth every penny.

I don’t think I need to go too much more into the detail of this card as my previous posts using this set explain the process, plus you can purchase the PDF Tutorial with the video class, it’s just £10 with three other cards that co-ordinate with this gift card holder. Click the link below to head to my Tutorials
When you untie that bow, revealed inside is an inner folded card where you can write a note and insert your gift card of choice.
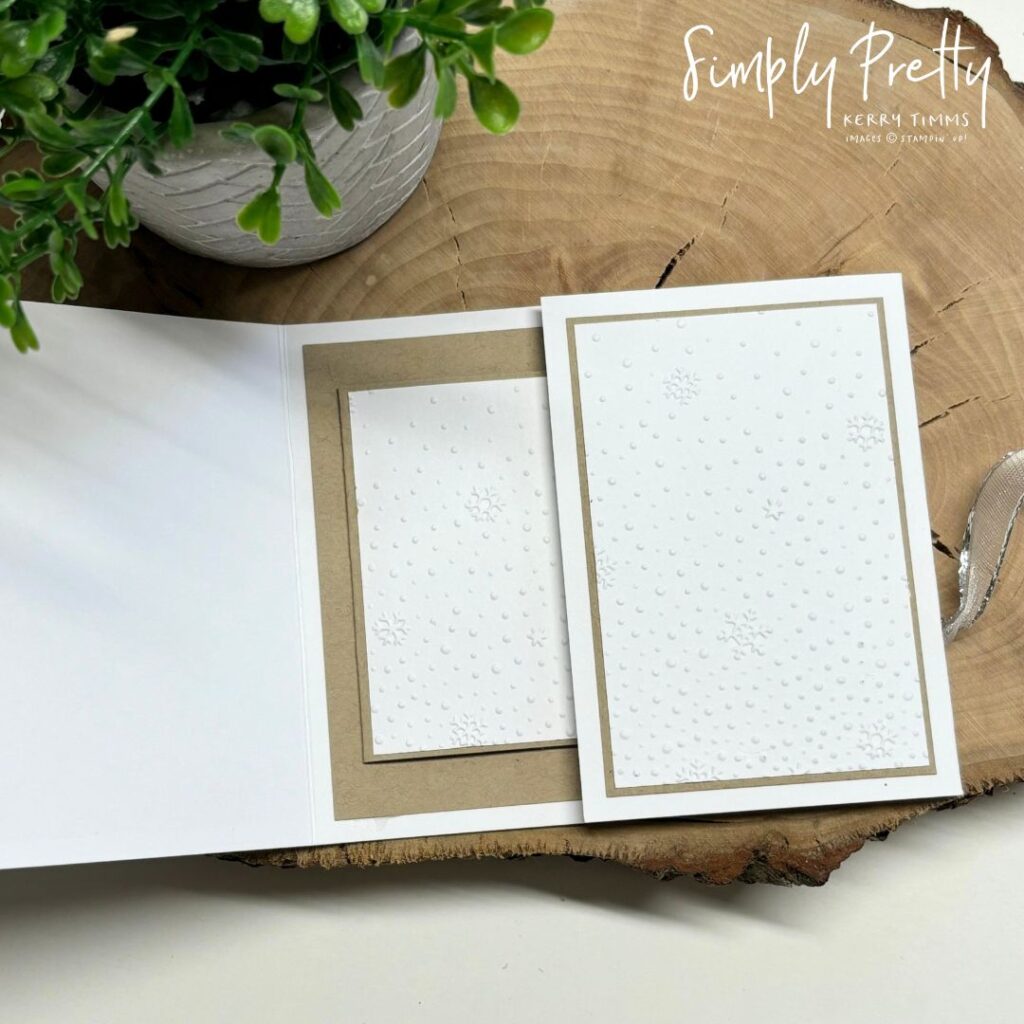
And because there are several layers of cardstock attached to the Basic White base, it’s pretty substantial and feels good to hold, if you know what I mean, it’s not going to blow away in a gust of wind!

I work hard when I am designing, to be conscious of how much cardstock I’m using. I work in inches and try to get the most out of each and every sheet of cardstock I pull from my shelf.
So if you fancy having a go at this one, this tutorial has two videos, the first is a brief 20 minutes running through the products I’m using, along with some tips to get ahead of yourself before you actually watch the video when you sit down to create the projects. All measurements are also listed in the PDF along with a photo of each project too.
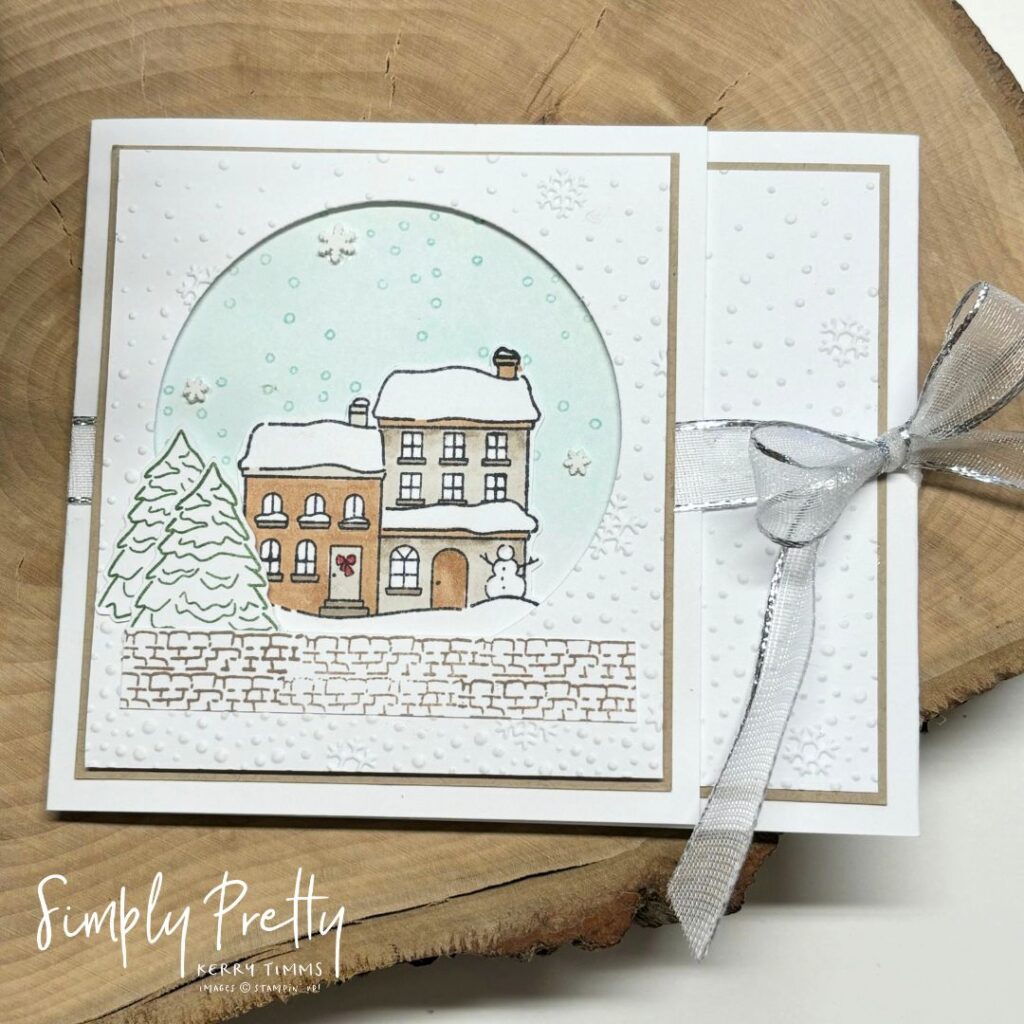
I’ve shared this one on my Socials too, and you are all loving my Yuletide Village creations, you can head to my YouTube Channel to watch some more live stamping sessions using this set, plus many more videos I’ve created for FREE to offer some inspiration your way. Click the button below to head over to YouTube.
I hope you’ve enjoyed today’s creation, remember you can re-create it too, add more colour, add lots of patterned paper to make it more your style, head to my Tutorials section for all of the measurements for the 3 Cards & 3D Class and sit back and enjoy creating in my company!
Product List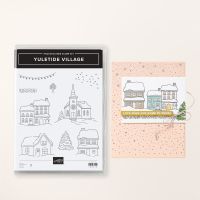




Leave a Reply